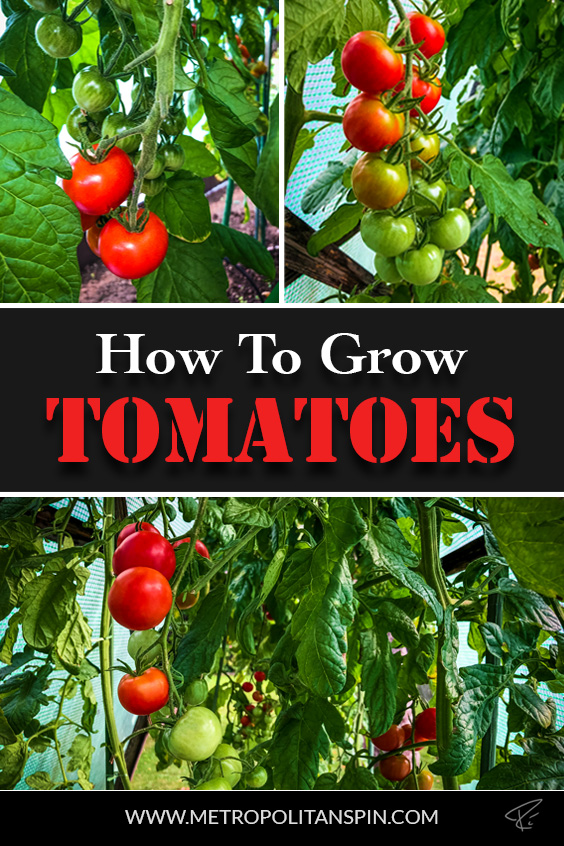
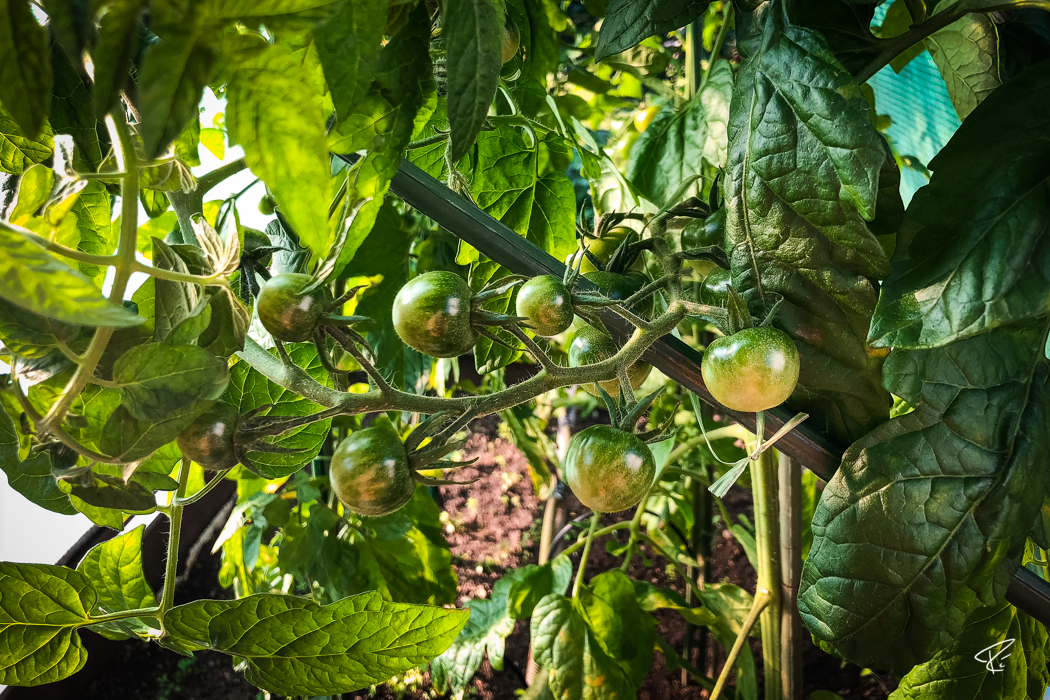
Der Anbau von Tomaten ist bei Hobbygärtnern sehr beliebt. Das ist auch kein Wunder, denn frisch vom Strauch gepflückt schmecken voll ausgereifte Tomaten einfach am besten!
Das aus Mittel- und Südamerika stammende Gemüse ist relativ einfach selber anzubauen. Damit auch Dir das gelingt und Du bis in den Spätsommer leckere Tomaten ernten kannst, findest Du im folgenden Abschnitt einige hilfreiche Tips.
Growing tomatoes is very popular among hobby gardeners. This is not surprising, because full ripe tomatoes, harvested freshly of the bush, taste the best.
Originating from Middle and South America, this vegetable is relatively easy to grow by yourself. In the following, you will find some helpful tips about growing them successfully, so that you will be able to pick delicious tomatoes until late summer.
Wähle eine oder mehrere Sorten
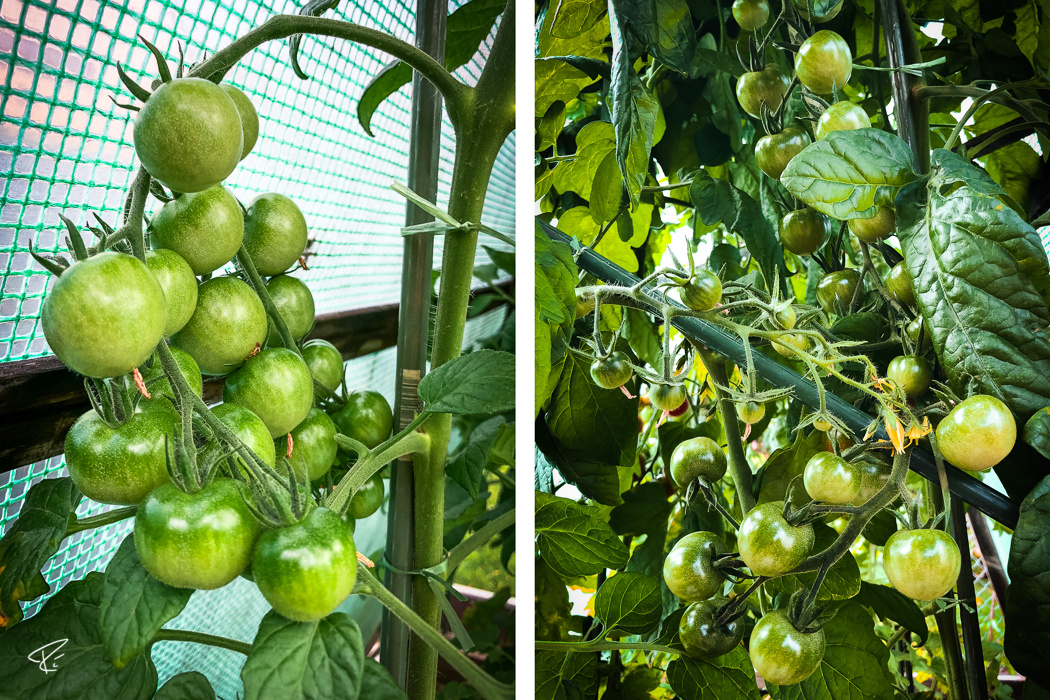
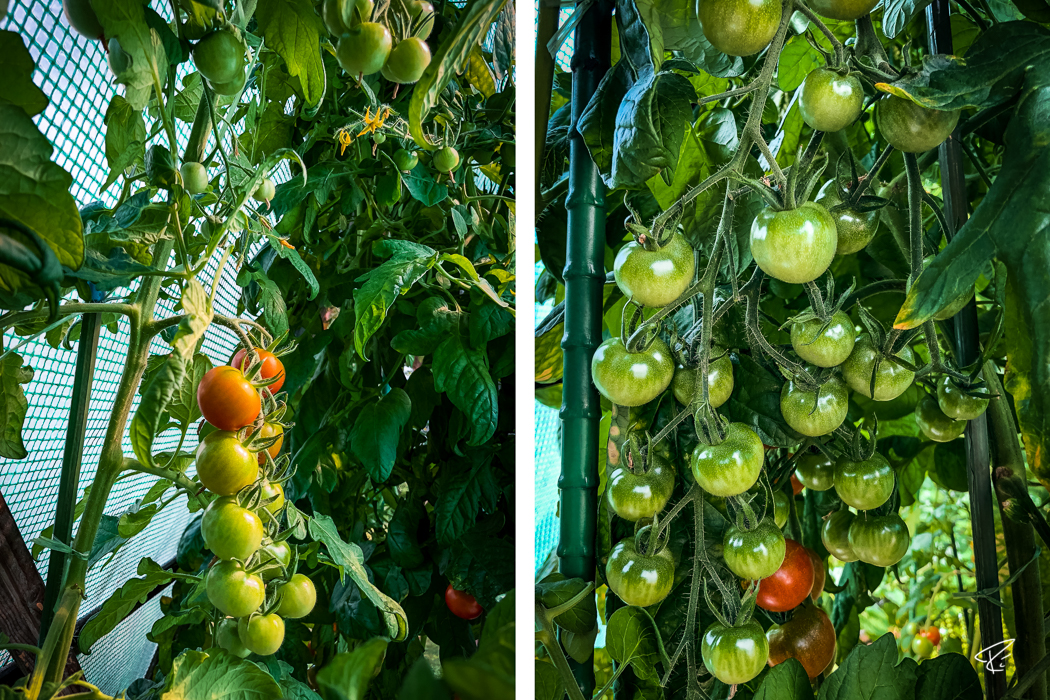
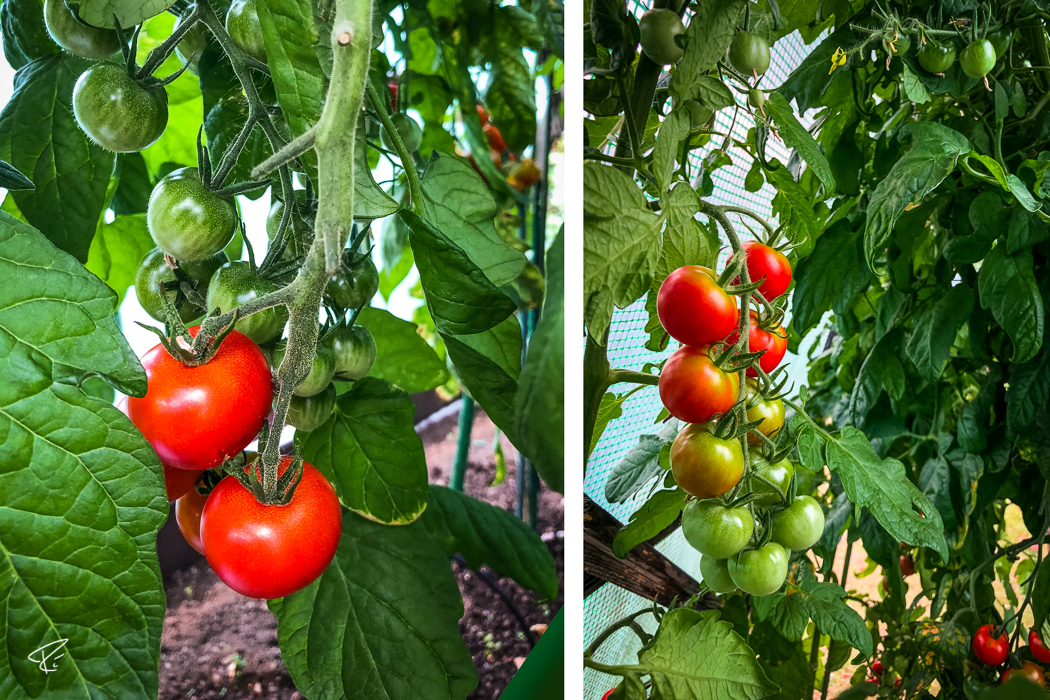
Weltweit gibt es mehr als 7000 Tomatensorten. Von groß bis ganz klein, von kugelrund bis länglich, von rot bis hin zu schwarz, sogar gestreifte und mehrfarbige Exemplare gibt es!
Die größte Auswahl an Sorten hast Du bei der Verwendung von Saatgut. Wenn Dir die damit verbundene Arbeit zu aufwändig ist, dann kannst Du auch vorgezogene Pflanzen im Gartencenter kaufen. Hier ist die Sortenauswahl jedoch wesentlich geringer!
Entscheide Dich einfach für eine oder mehrere Tomatensorten, die Deinem Geschmack entsprechen.
Choose one or more varieties
There are more than 7000 tomato varieties. From big to very small, from round to oblong, from red to black, even striped and multicolored ones are available!
Choosing seeds, offers the widest selection of varieties. If you think the amount of work that is involved is too much, you can also buy pre-grown plants in the garden center. However, when buying pre-grown seedlings, you can only choose between a few varieties!
Simply choose one or more tomato varieties that will suit your taste.
Pflanzen vorziehen
Mit dem Vorziehen Deiner Tomaten aus Saatgut kannst Du Anfang März beginnen. Früher brauchst Du nicht beginnen, da die Pflanzen sonst zu wenig Sonnenlicht bekommen.
Zum Vorziehen eignen sich die unterschiedlichsten Gefäße. Du kannst zum Beispiel die klassischen Anzuchttöpfe verwenden, aber genau so gut Eierkartons oder einfache Papierrollen. Wichtig ist nur, dass in dem Behältnis keine Staunässe entsteht.
Wähle für jedes Samenkorn ein einzelnes Pflanzgefäß. Dadurch musst Du die Pflanzen später nicht vereinzeln, das sogenannte Pikieren.
Tomaten sind Lichtkeimer. Bedecke deshalb das Saatgut nur mit ganz wenig Erde und befeuchte es mit etwas Wasser. Decke anschließend die Pflanzgefäße mit Klarsichtfolie ab und stelle sie an einen hellen Ort am Fenster.
Tomaten mögen es warm. Die Temperatur am Fenster sollte deshalb zwischen 20 und 25 Grad betragen. Stelle die Pflanzen aber nicht direkt auf die Heizung! Dort wird es ihnen zu warm und sie gehen ein! Achte auch darauf, dass Deine Tomatenpflanzen keine Zugluft abbekommen. Darauf reagieren sie sehr empfindlich!
Nach 6-10 Tagen beginnen die ersten Samen zu keimen. Ab jetzt kannst Du Deinen Tomatenpflanzen sprichwörtlich beim Wachsen zusehen!
Pre-growing plants
Wait until the beginning of March until you pre-grow the tomatoes from seeds. You don’t need to start earlier, because then the plants will not get enough sunlight.
Various containers are suitable for pre-growing your plants. For example, you can use the common seed starting pots, but also cardboard egg boxes or plain paper rolls. The only important thing is that the water can drain easily.
Plant every seed in a separate container. In doing so, you don’t need to separate the plants later.
Tomato seeds need light to germinate. Therefore, cover the seeds just with a little bit of soil and moisten them with some water. Cover the containers with transparent plastic wrap afterwards and place them in the sunlight at the window sill.
Tomatoes like it warm. Therefore, the temperature at the window sill should be around 20 and 25 degrees Celsius. But do not put them onto the radiator! It is too warm there and the little plants will die! Also make sure to avoid draught. Your tomato plants will react very sensitive to that!
The first seeds will germinate after 6-10 days. From now on, you can literally watch your tomatoes grow!
Gemüsebeet vorbereiten
Bevor Du Deine Tomatenpflanzen raus in das Gemüsebeet setzen kannst, musst Du dieses noch vorbereiten.
Befülle das Gemüsebeet mit guter Pflanzerde und arbeite als Startdüngung reichlich Kompost unter.
Errichte anschließend eine stabile Überdachung. Ob es sich dabei um ein Gewächshaus, ein Tomatenhaus aus Folie oder eine einfache Holzkonstruktion bespannt mit Folie handelt, ist völlig egal. Hauptsache Deine Tomatenpflanzen sind vor Regen geschützt. Es wäre doch schade, wenn Deine liebevoll gepflegten Tomaten durch zu viel Regen wegfaulen und die ganze Arbeit umsonst war!
Preparing the garden bed
Before planting your tomato plants into the garden bed, you need to prepare it.
Fill the garden bed with good soil and work in lots of compost, which will act as a fertilizer.
Build a sturdy roofing afterwards. It doesn’t matter if its a greenhouse, a protection frame with a plastic cover or a simple wooden construction that is covered with greenhouse plastic. Important is, that your plants are protected from the rain. It would be really sad, if your lovingly cultivated tomatoes rot away due to heavy raining and all your invested work was a waste of time!
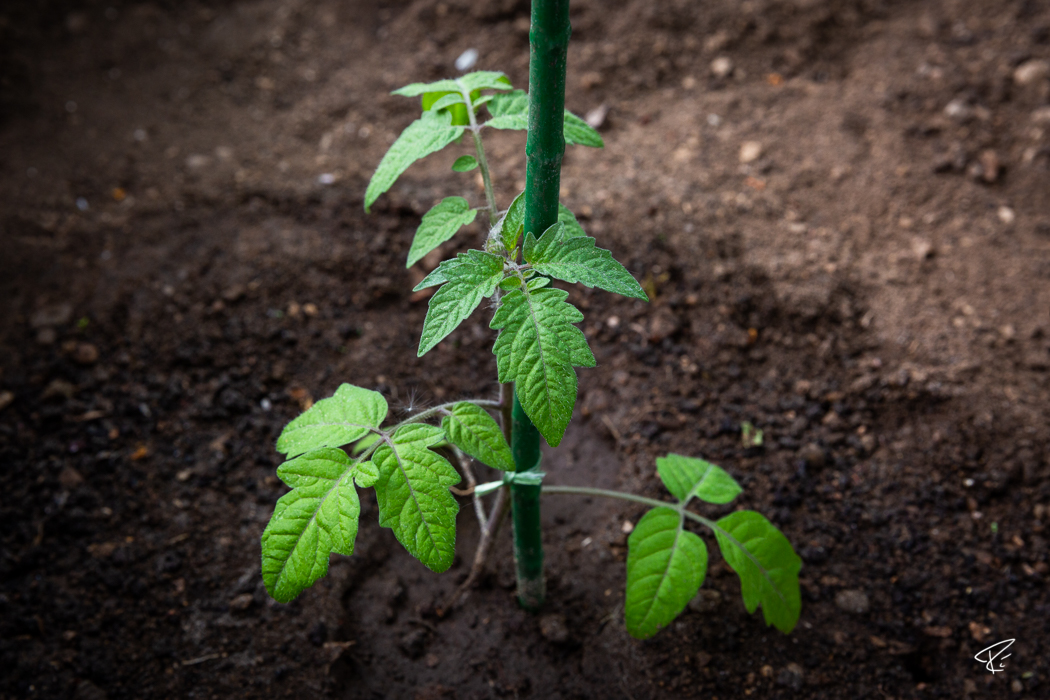
Setzlinge pflanzen
Tomaten mögen es warm und sonnig. Deshalb solltest Du Deine Tomatensetzlinge erst nach den Eisheiligen Mitte Mai in Dein vorbereitetes Gemüsebeet pflanzen.
Pflanze den Setzling 10 cm tiefer in die Erde als er vorher in seinem Gefäß gesessen hat. Dadurch bilden sich am eingegrabenen Haupttrieb zusätzliche Wurzeln, die der Pflanze mehr Stabilität geben und die Wasser- sowie die Nährstoffaufnahme fördern. Setze die nächste Tomatenpflanze im Abstand von mindestens 60 cm, sodass jede Pflanze genügend Licht und Luft erhält.
Damit die wachsende Pflanze später nicht unter ihrem eigenen Gewicht zusammenbricht, musst Du ihr eine stabile Rankhilfe zur Verfügung stellen. Dazu eignen sich verschiedenste Arten von Pflanzstäben. Besonders beliebt sind Spiralstäbe an denen sich die Tomatenpflanzen hochwinden können. Wenn Du nur einfache gerade Stangen verwendest, muss Du die Tomatenpflanze alle 30-50 cm locker anbinden.
Planting seedlings
Tomatoes like it warm and sunny. Because of that, you should not plant your tomato seedling in your prepared garden bed until mid-May.
Plant the seedling 10 cm deeper into the soil than it sat in its container before. By doing this, additional roots will grow at the buried main stem. These will give the plant more stability and also support the uptake of water and nutrients. Plant the next tomato seedling at least 60 cm away from the previous plant, so that each plant gets enough light and air.
You need to provide a sturdy trellis to the growing plant, so that it will not collapse through its own weight later. Various types of planting sticks are suitable for this. Very popular are spiral sticks that help the plant to wind up and grow vertically. If you are using simple straight sticks, you need to tie the tomato plant to the stick every 30-50 cm loosely.
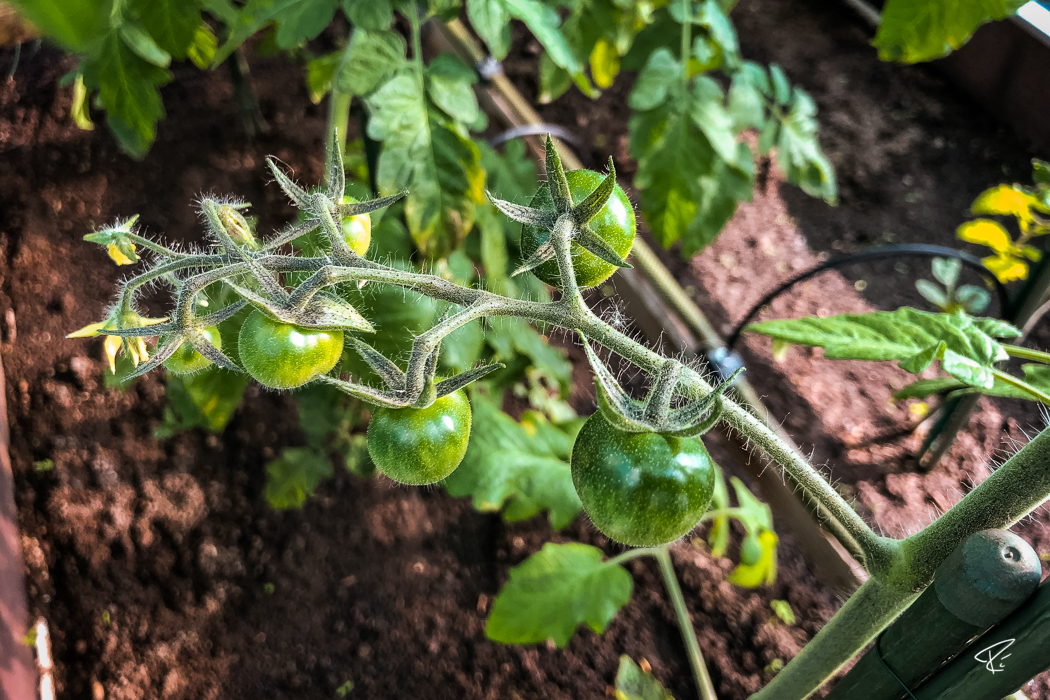
Pflanzenpflege
Tomatenpflanzen benötigen regelmäßig etwas Pflege.
Besonders wichtig ist das Gießen, denn Tomaten benötigen viel Wasser. Am besten gießt Du die Tomatenpflanzen am frühen Morgen, so hat das Wasser genügend Zeit im Boden zu versickern. Achte besonders darauf, dass beim Gießen keine Blätter nass werden!
Da Tomaten Starkzehrer sind, entziehen sie dem Boden viele Nährstoffe. Regelmäßiges Düngen ist deshalb Pflicht! Verwende dazu einen kalireichen biologischen Tomaten- oder Gemüsedünger. Ob in flüssiger oder in fester Form ist nebensächlich.
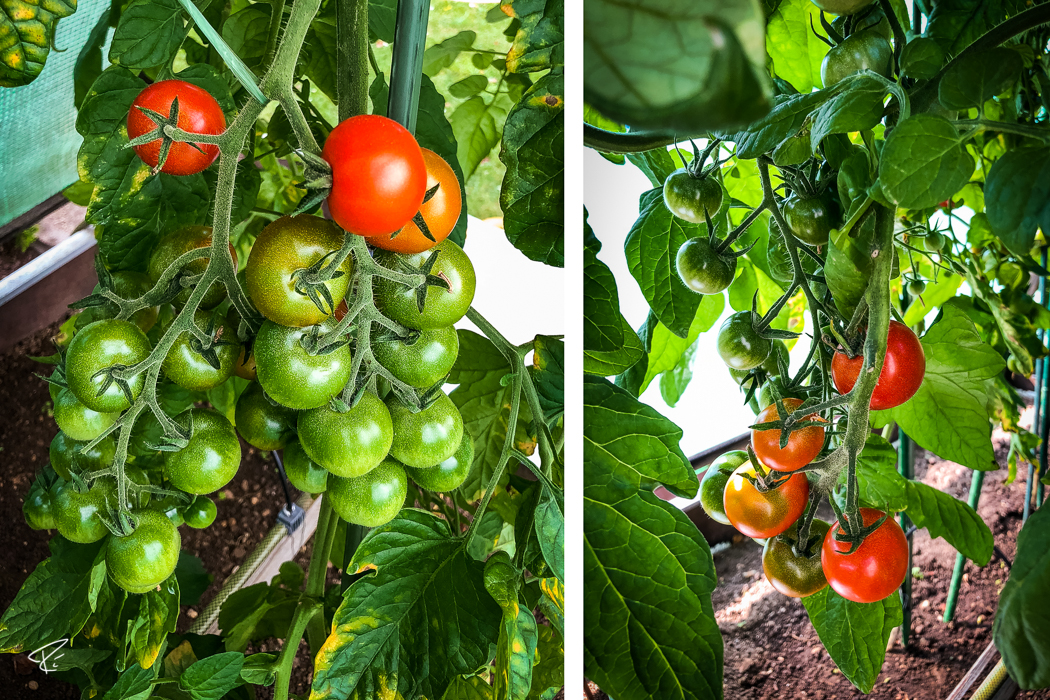
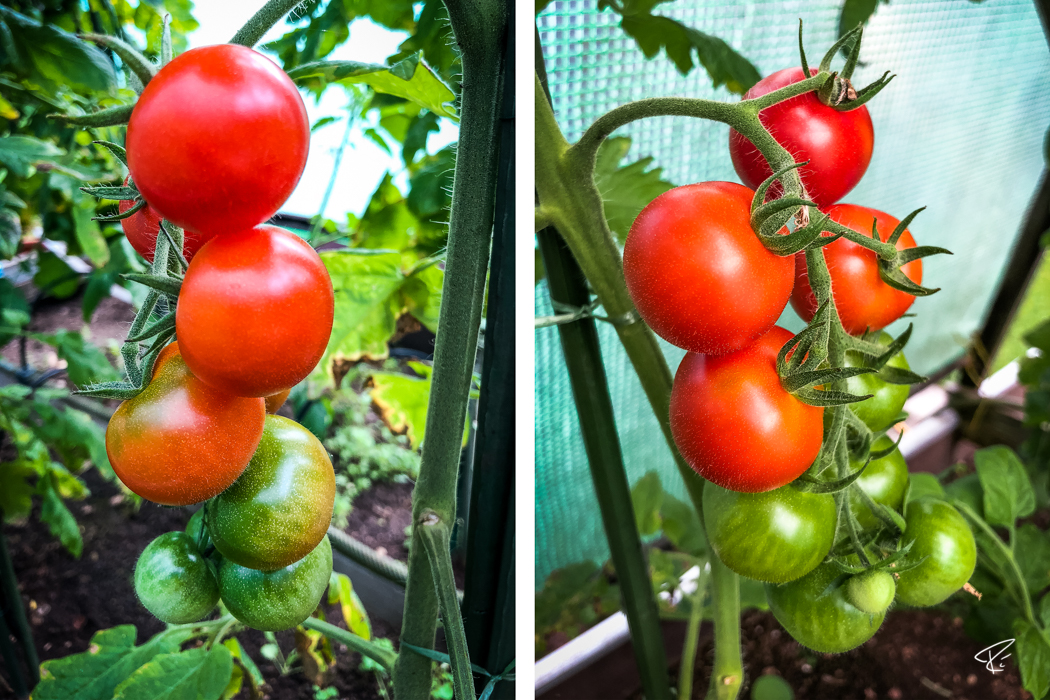
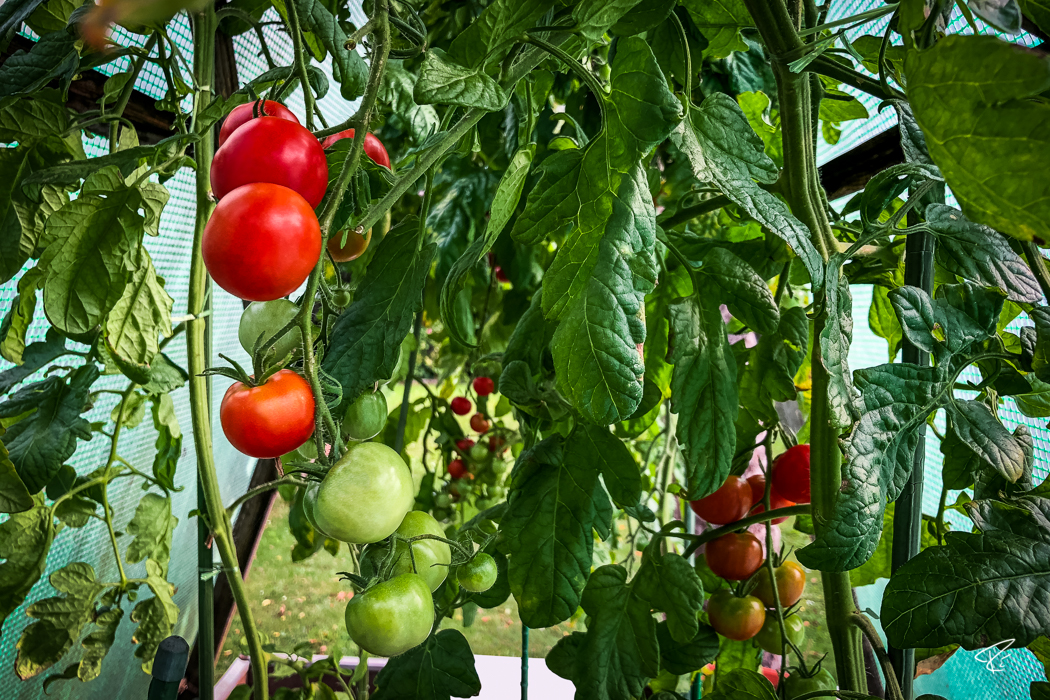
Mindestens einmal pro Woche musst Du Deine Tomatenpflanzen ausgeizen. Das bedeutet, dass Du neue Seitentriebe, die aus den Blattachseln wachsen, einfach herausbrichst und entfernst. Machst Du das nicht, entsteht eine sehr buschige Tomatenpflanze, die ihre Energie nicht in die Fruchtbildung steckt, sondern fast ausschließlich in neue Triebe und Blätter! Entferne zusätzlich alle Blätter vom Stamm, die zwischen dem Boden und den ersten Früchten wachsen. Das sorgt für mehr Luftzirkulation und beugt Pflanzenkrankheiten vor.
Um die Bestäubung Deiner Tomatenpflanze zu beschleunigen, kannst Du vorsichtig an dieser rütteln. Dadurch wird der Blütenstaub freigegeben und die Bienen und Hummeln können schneller mit ihrer Arbeit beginnen.
Plant care
Tomato plants need care regularly.
Of particular importance is watering, because tomatoes need a lot of water. The best time to water your tomato plants is in the early morning. In doing so, it has enough time to enter the soil. Make sure to keep the leaves dry while watering!
Tomatoes have a high demand for nutrients, which they get from the soil. Therefore, fertilizing regularly is necessary! Use an organic tomato or vegetable fertilizer that contains potassium. It doesn’t matter if it is in liquid or in solid form.
At least once a week, you need to remove the suckers from your tomato plants. This means that you break out and remove new side shoots between the stem and the branches. If you don’t do this, the tomato plant gets very bushy and it puts its energy into new shoots and leaves instead of building new fruits! Also remove all leaves from the stem, that are growing between the ground and the first fruits. This enhances air circulation and prevents plant diseases.
To speed up the pollination of your tomato plants, you can carefully shake them. This releases the pollen and the bees and bumblebees can start their job more quickly.
Was würdest Du meinen Tips hinzufügen?
Schreib es mir unten in die Kommentare!
What would you add to my tips?
Tell me in the comments below!
Dir hat dieser Beitrag gefallen?
Dann teile ihn mit Deinen Freunden auf Facebook und Pinterest!
You enjoyed this post?
Share it with your friends on Facebook and Pinterest!